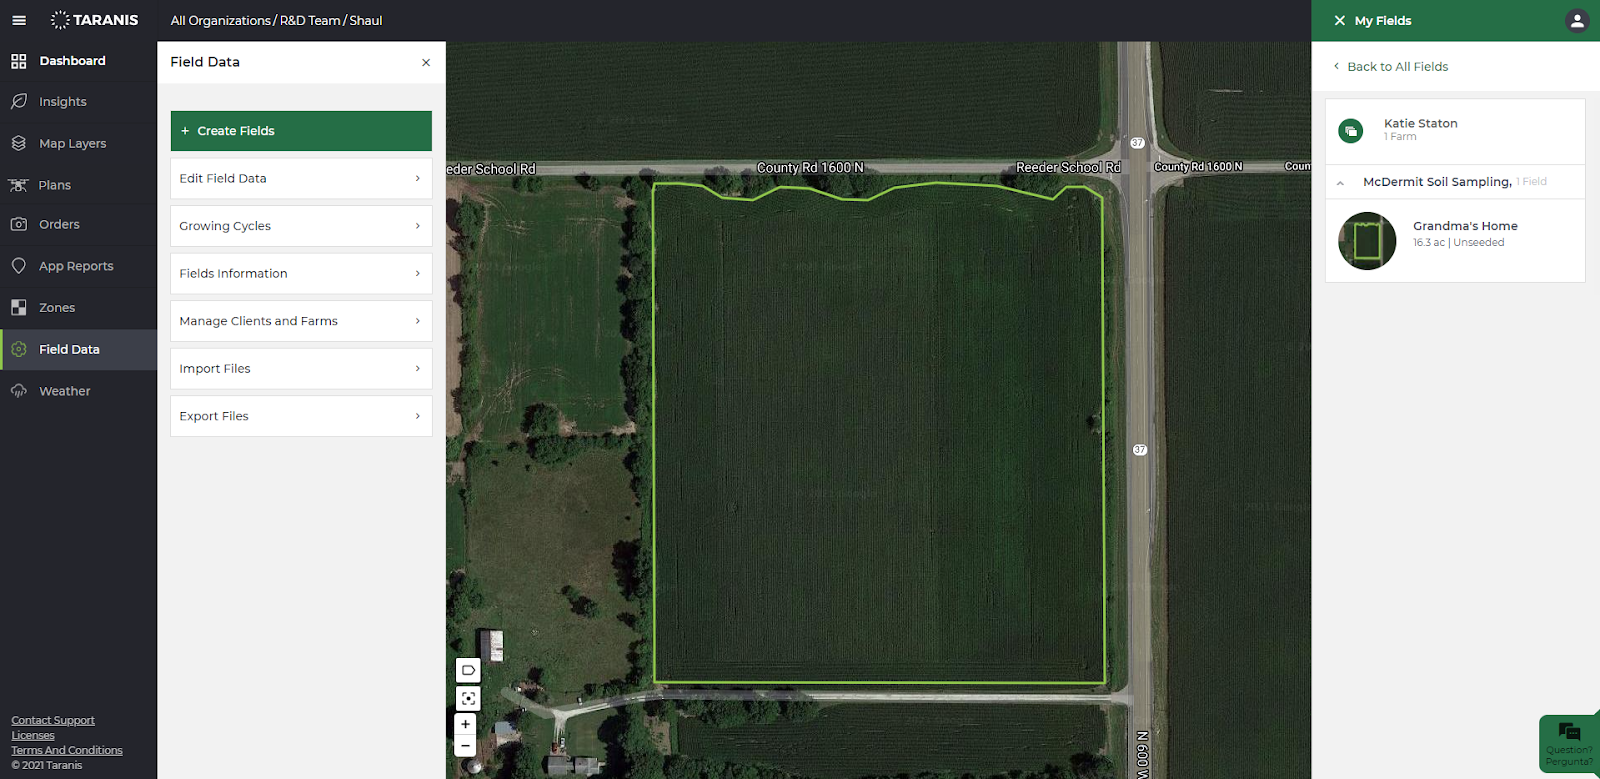
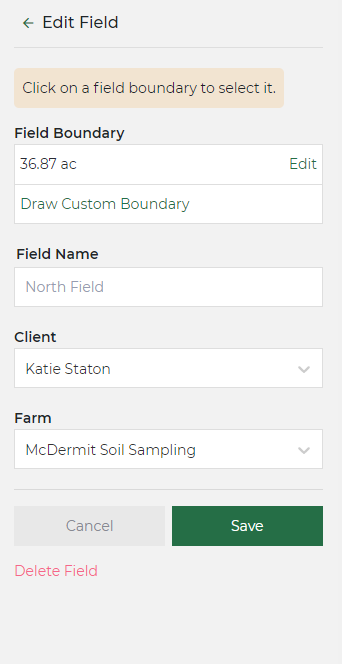
Editing a field name or boundary
- Select the field in question from your fields list
- Open Field Data Tab from your dashboard on the left hand side
- Select Edit Field Data
- Make appropriate adjustments and save
- Refresh your screen and you will see the changes applied.
Related Articles
Upload A New Field Boundary
Uploading a field boundary is the first thing you will do when you are getting ready for the season. Follow this how to guide on how to upload field boundaries to your Taranis account. Click on the Field Data tab located on the left side of your ...Bulk Edit - Planting Information
Bulk edit is the tool located in the Field Data tab and Plans tab in Taranis SmartScout. Here you can bulk edit planting information including planting date, crop, population, and growing cycle. Follow these steps: Log into your account at ...Adding Planting Information - Field By Field
Flights are generated by adding planting information to the field boundaries that are going to be serviced by Taranis. Once you are logged into the Webapp, click the field which you would like to add/edit planting information. The field boundary ...Adding Fields to Plans
To begin, make sure all fields are organized/named appropriately in your hierarchy and planting information is entered. Next, click the “Plans” tab and “Edit Plan” for the appropriate tab. (SmartScout tab is for drone flight scheduling and ...Moving Clients, Farms, or Fields
In the Taranis Web App, client, farm, and field are laid out and represent the following in your account: Client = Grower Name Farm = Growers' Farm Name Field = Growers' Field Name Moving Clients/Farms/Fields Once you are logged in to the ...