How to Add Fields to Plans
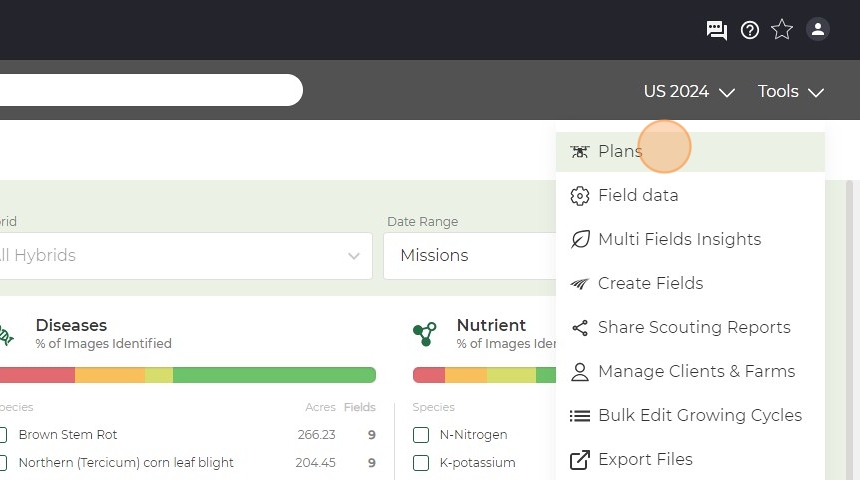
1. Click "Tools"

2. Click "Plans"
3. Click "Edit Plan"

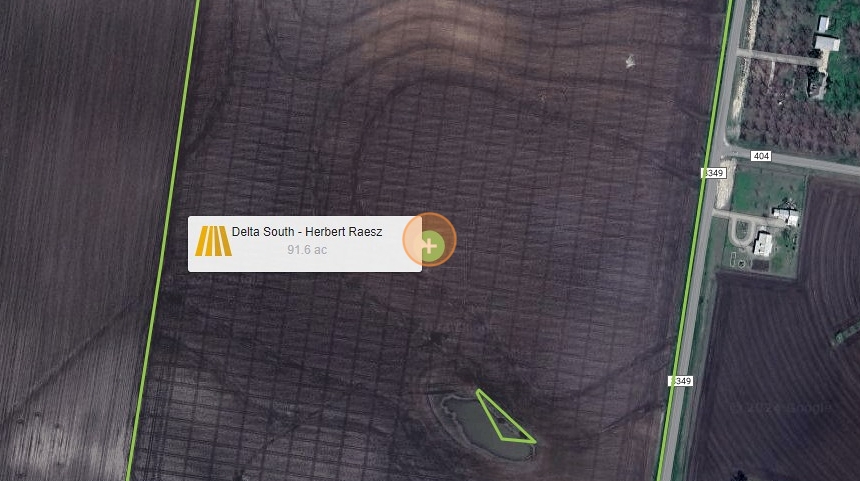
4. You will then see a map with fields. If they have a "+" icon they can be added. If they have a "-" they have already been added.

5. Hover the field to see field name and then click "+" icon.

6. You can also select field/fields on the right side with the check icon if there are multiple ones you need to add.

7. You can also navigate it this way to find the "+" icons.
8. Click "Continue".

9. Click "Confirm Request"

Related Articles
How to Move Client Farms or Fields
1. Click "Tools" 2. Click "Manage Clients & Farms" 3. Click "Edit Client" or "Edit Farm" depending on what you want to move. 4. Click the drop down on "Select a client". 5. Click the client. 6. Then click the drop down on "Select a farm". 7. Click ...How to Upload Field Boundaries
1. Click "Tools" 2. Click "Import Files" 3. Click "Import" 4. Click "Import from Computer" if you have shapefiles already downloaded and saved. 5. Select data type drop down. 6. Click "Field Boundaries" 7. Click "Next" 8. Click in the box or drag ...How to Edit a Field Name or Boundary
1. Click "Tools" 2. Click "Field data" 3. Click the client on the right side. 4. Select the field you are wanting to edit. This field can not be in enrolled in the plans. If it is you will need to remove it. 5. Click here "Edit Field Data". 6. Click ...How to Enter Planting Information
1. Click "Tools" 2. Click "Bulk Edit Growing Cycles" 3. Select field or fields you want to add planting information by check marking the boxes. Multiple fields can be selected if they all have the same information. 4. Select growing year drop down. ...How to Access Missing Planting Information
1. Click "Tools" 2. Click "Plans" 3. Click "Demo 2024" 4. Click this icon. 5. Click "Missing planting info" 6. Click this icon. Made with Scribe