Upload Field Boundaries - Historical
1. Click "Tools"
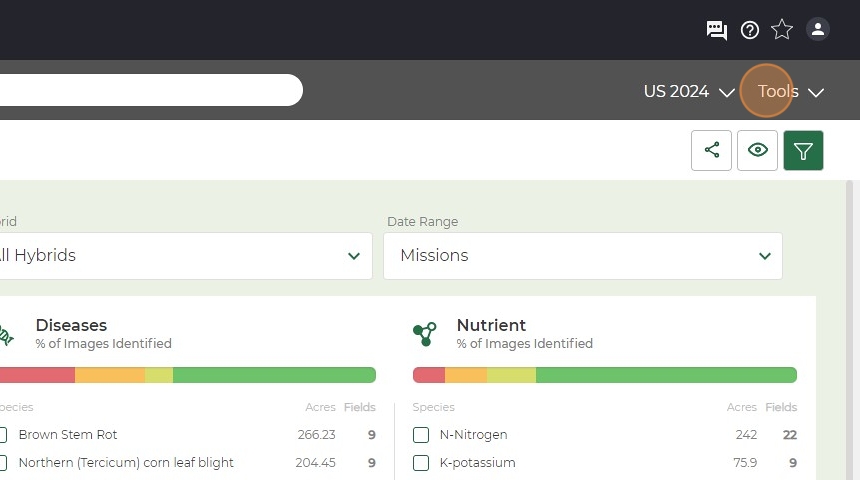
2. Click "Import Files"
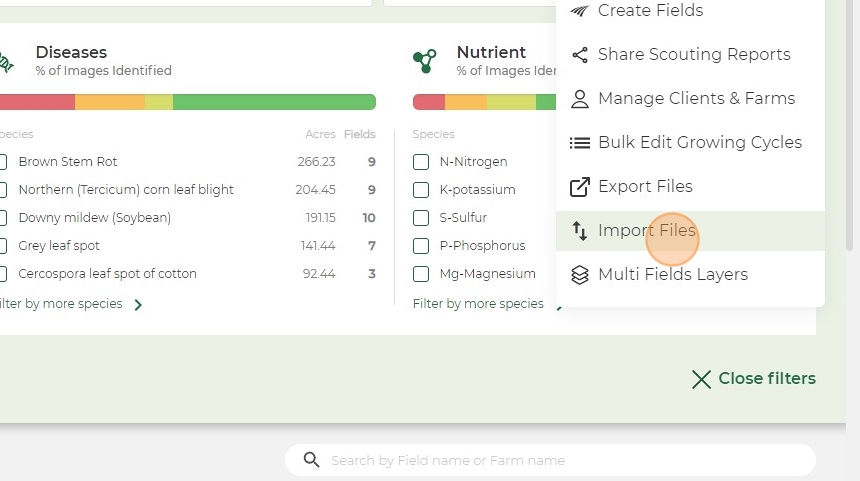
3. Click "Import"
4. Click "Import from Computer" if you have shapefiles already downloaded and saved.

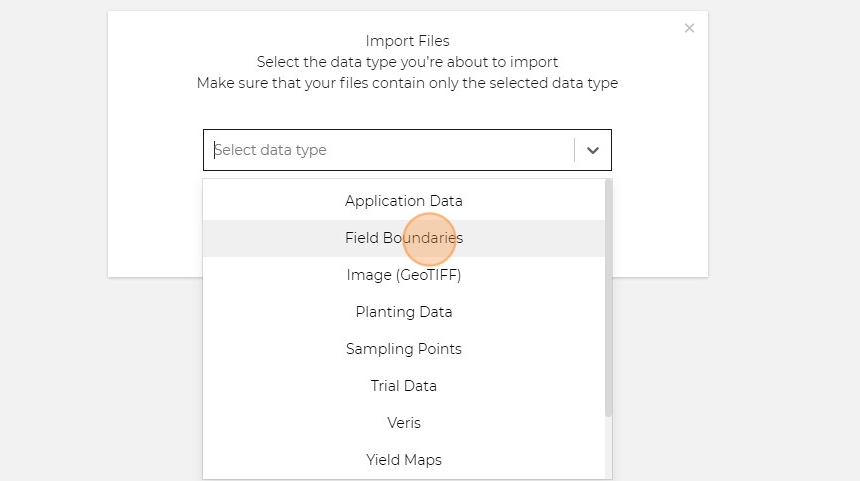
5. Select data type drop down.
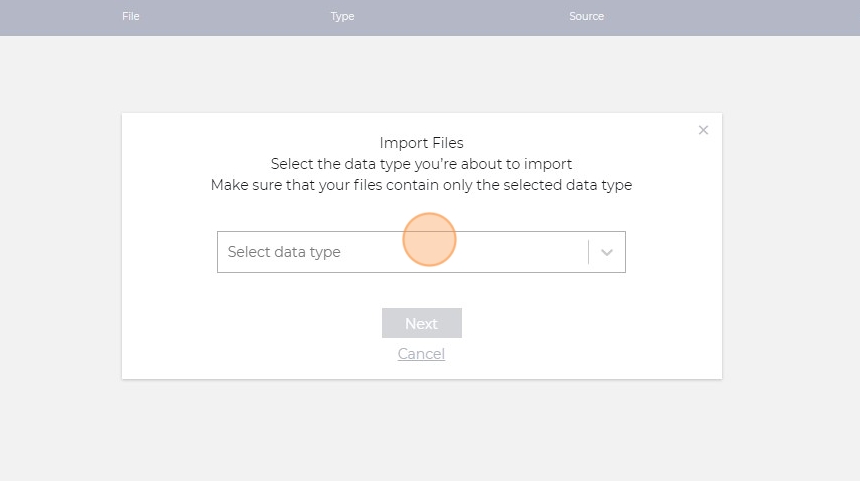
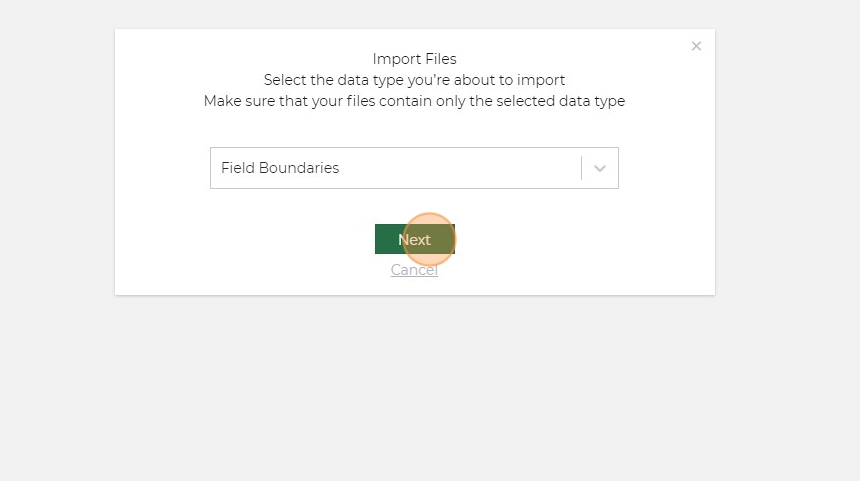
6. Click "Field Boundaries"
7. Click "Next"
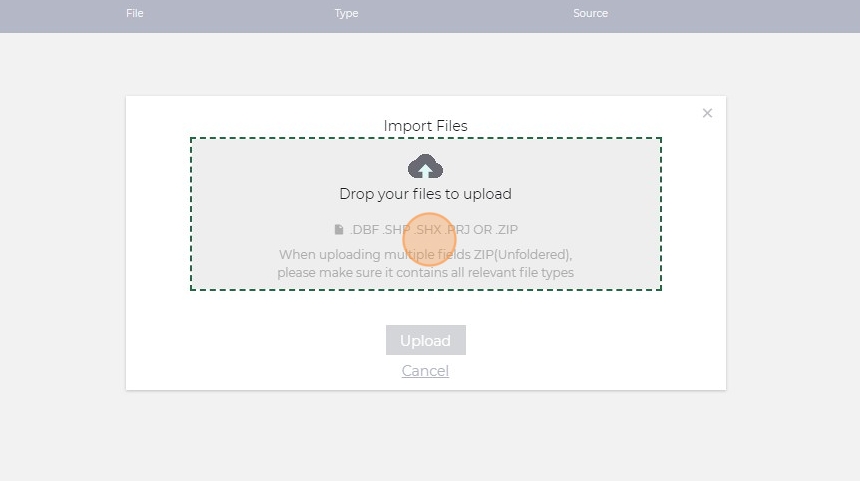
8. Click in the box or drag files into box.
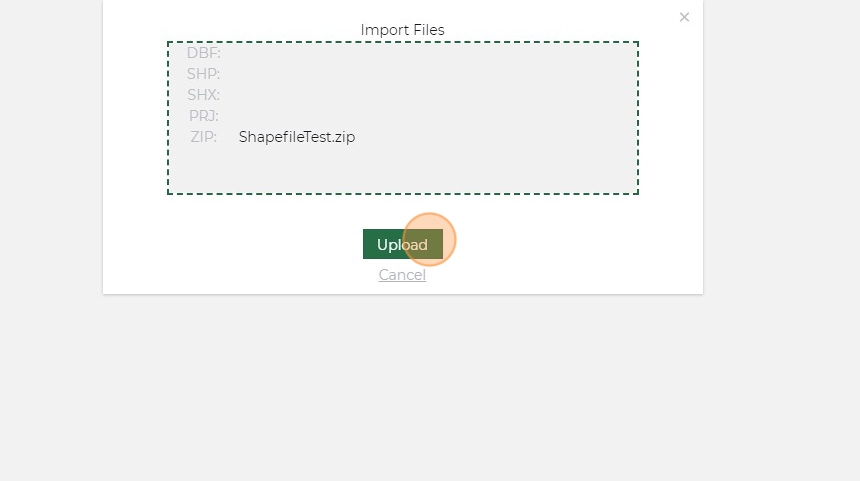
9. Click "Upload"
10. Info will automatically fill in fields below. If not, contact CS Rep.
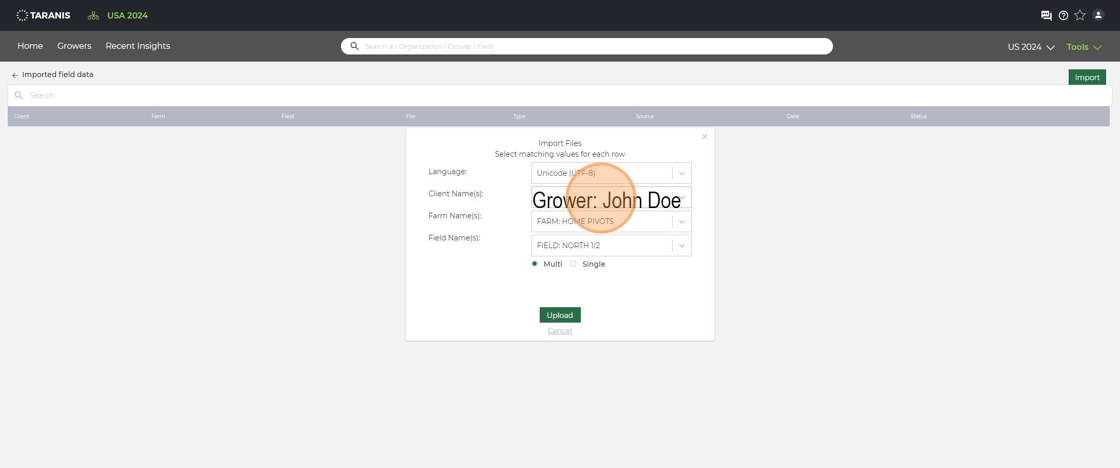
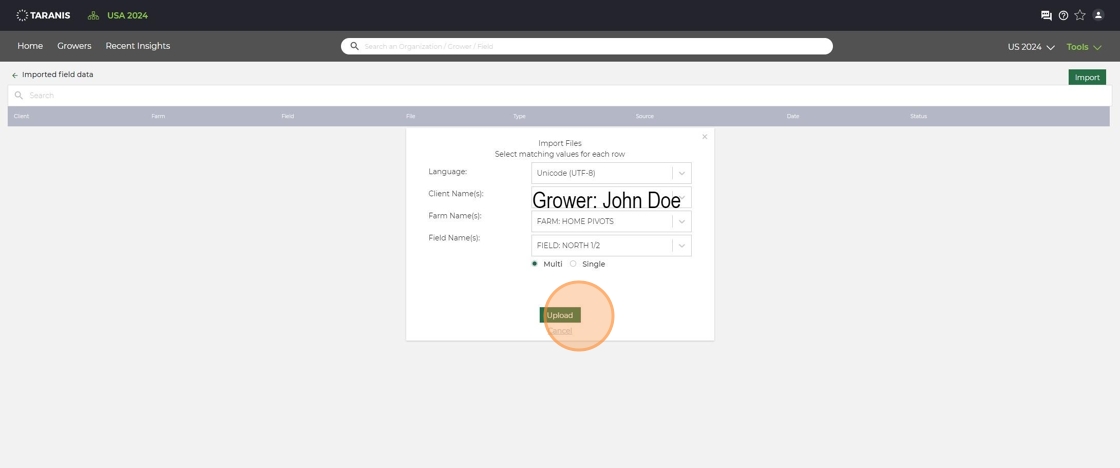
11. Click "Upload"
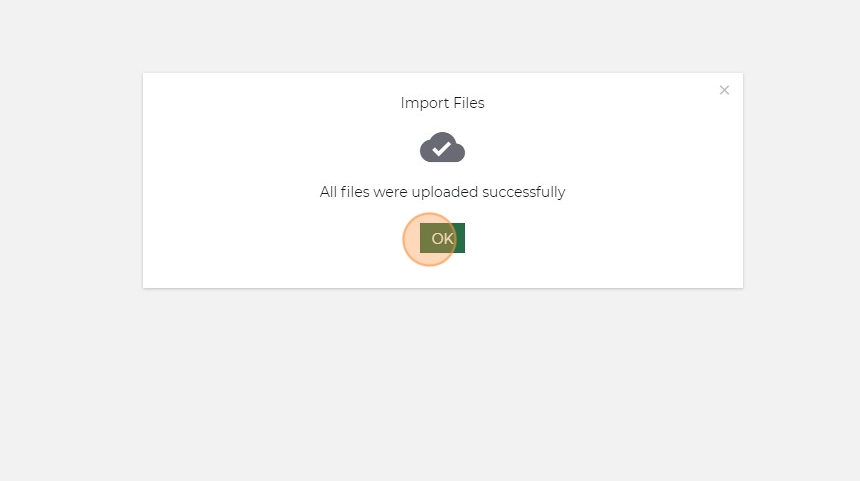
12. Click "OK"
13. You then will need to add this field to your plans so it will be serviced. (Just importing a boundary does not mean it will be serviced.)
Related Articles
Upload Field Boundaries - Improved
Access Field Management Tools Log in to your Taranis Account. Click Tools in the top navigation bar. From the dropdown menu, select Field Plans and Growers. Review and Organize Existing Fields The screen displays all fields currently in your account. ...Edit a Field Name or Boundary
1. Click "Tools" 2. Click "Field data" 3. Click the client on the right side. 4. Select the field you are wanting to edit. This field can not be in enrolled in the plans. If it is you will need to remove it. 5. Click here "Edit Field Data". 6. Click ...MyJohnDeere™ Integration Overview
What Is the MyJohnDeere™ Integration The MyJohnDeere™ integration connects Taranis with the John Deere Operations Center to simplify field setup and keep planting data up to date throughout the season. Once connected, field boundaries are made ...Move Client, Farms, or Fields
1. Click "Tools" 2. Click "Manage Clients & Farms" 3. Click "Edit Client" or "Edit Farm" depending on what you want to move. 4. Click the drop down on "Select a client". 5. Click the client. 6. Then click the drop down on "Select a farm". 7. Click ...Add Fields to a Plan in Taranis
Log in to your Taranis Account Navigate to the Taranis login page and enter your credentials. Access the Field Plans Section Click Tools in the top navigation bar. From the dropdown menu, select Field, Plans & Growers. Existing fields are displayed. ...